
Ricotta pie (pizza di ricotta) is a traditional Italian dessert, especially popular around Easter. Made with a light ricotta cheese filling and baked in a pastry crust, it’s sometimes described as Italy’s answer to cheesecake, but the texture is far lighter. We like to serve it unadorned to make the most of its delicate flavor and silky texture.
Because it strikes a perfect balance of flavors and textures with its subtle sweetness, mellow citrus flavor, and creamy, custard-like filling, Italian ricotta pie has always been a favorite in our house. It’s the kind of dessert you can enjoy after a big meal without feeling overstuffed, and it holds up beautifully in the fridge for a few days – should it last that long.
Key Ingredients
A few key ingredients make this recipe work – here’s what to know. A complete list with quantities is in the recipe card below.

RICOTTA CHEESE: We only use whole milk ricotta for this recipe. Its higher fat content ensures that the filling will have a smooth, creamy texture and firm up properly during baking.
HEAVY CREAM: Heavy cream adds body to the ricotta filling, helping it to set properly and contributing to its silky, custard-like texture. We do not recommend any substitutions.
LEMON AND VANILLA EXTRACTS: When combined, lemon and vanilla extracts complement the creamy ricotta without overpowering it – ideal for a dessert that’s meant to be gently flavored and not too sweet.
ORANGE ZEST: When combined with the lemon extract, orange zest gives the pie a delicious, sweet citrus flavor. If you prefer the extra tartness, you can use lemon zest instead.

A Quick Look at Preparation
How to Make Italian Ricotta Pie
Here’s how this dish comes together, along with a few tips for the best results. Full instructions are in the recipe card below.
Drain the ricotta well in advance, at least four hours but preferably overnight. This simple step makes all the difference in getting a firm, custard-like texture that sets up beautifully when baked.


The crust comes together quickly in a food processor. Just pulse together flour, sugar, salt, and cold butter until it’s crumbly, then add ice water until the dough forms.

After a short chill, it’s rolled out and trimmed to fit a springform pan. Pressing the dough just slightly up the sides helps seal the base when the pan is assembled. Next the crust is partially baked to ensure proper doneness.


For the filling, the ricotta is blended with eggs, sugar, lemon and vanilla extracts, and orange zest for a subtle citrus note. A mixture of cream and cornstarch is added for stability, then everything is processed until silky smooth.
The pie bakes in a water bath to keep the texture delicate and prevent cracking. After baking, it’s removed from the water to rest briefly in the turned-off oven before cooling completely at room temperature.
Once fully cooled, the pie is ready to serve – and it’s even better after a few hours in the fridge.
More Creamy Dessert Recipes
If you’re in the mood for something sweet and creamy, these easy desserts are just the thing.
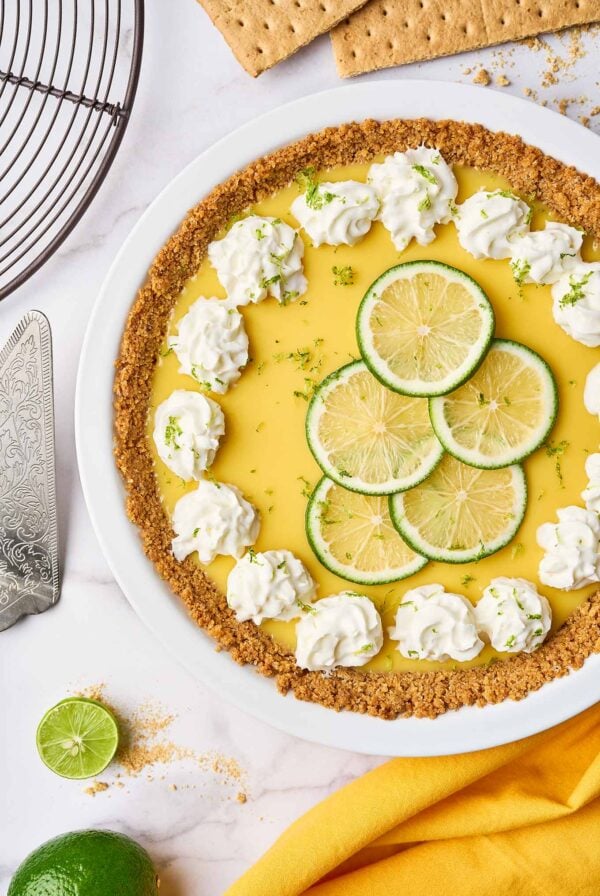
Florida Key Lime Pie is a tart, creamy favorite, and one of the simplest desserts you can make. Fruit-Topped Greek Yogurt Pie offers a smooth, tangy filling that can be topped with your fruits, berries or cherries. For a nostalgic New England treat, try Grape Nut Custard Pudding, a lightly sweet, creamy dessert that forms its own crust as it bakes. And when you need something quick, No-Bake Cheesecake Parfaits come together fast with simple ingredients – great for a last-minute dessert.


Italian Ricotta Pie
Equipment
- Food processor
- 9" springform pan
- Roasting pan or other container for water bath (see notes)
Ingredients
For the filling:
- 20 ounces ricotta (about 2-1/2 cups), drained
- 4 eggs, lightly beaten
- 1/2 cup sugar
- 1/2 teaspoon lemon extract
- 1 teaspoon vanilla extract
- Zest of 1 orange
- 1 cup heavy cream
- 2 tablespoons cornstarch
For the crust:
- 4 tablespoons ice water, or more if needed
- 1-1/4 cups all-purpose flour
- 2 teaspoons sugar
- 1/4 teaspoon salt
- 8 tablespoons unsalted butter, cut into small cubes
Instructions
- At least 4 hours in advance (preferably overnight), add the ricotta to a fine strainer positioned over a bowl to drain. Cover with plastic wrap and refrigerate. This is an important step to ensure that the filling will set properly.
Make the crust:
- Fit the work bowl of your food processor with the steel blade. Add the flour, sugar, and salt, then scatter the butter on top. Using the pulse function, process in short bursts until the mixture is crumbly, with pieces the size of small peas.
- With the processor running, start adding the ice water through the feed tube in 1 tablespoon increments until the dough gathers into one or two large pieces. Run the processor for an additional 10 to 15 seconds, just long enough for the dough to gather into a ball. Don't over-process.
- Remove the dough from the processor, flatten it into a 1/2-inch thick circle, wrap in plastic, and chill for 30 minutes.
- After chilling, dust both your rolling surface and the top of the dough with flour. Gently roll the dough from the center out, to a diameter of about 11 inches, dusting with a little additional flour as you go. Place the bottom of a 9-inch springform pan on top of the dough and trim away the excess with a knife.
Par-bake the crust:
- Position a rack in the center of the oven and preheat to 350°F.
- Generously butter the bottom and sides of the springform pan and place the dough on the base. Assemble and lock the pan, then, using your fingers, press the dough into the edges of the pan and up the side about 1/4-inch (this helps to seal the seam).
- Prick all over with the tines of a fork, bake for 10 minutes, then remove from the oven and set aside to cool.
Make the filling:
- Place the ricotta, eggs, sugar, lemon extract, vanilla extract and orange zest in the work bowl of a food processor fitted with the steel blade. Process until smooth, 30 seconds. In a small bowl, whisk the cream and cornstarch together until well blended. Add to the ricotta mixture and process for an additional 45 seconds or until the mixture is silky smooth.
Prepare the water bath:
- Put a kettle of water on to boil. Securely wrap the bottom and sides of the springform pan with heavy duty foil to ensure that no water will seep into the pan through the seam during baking.
- Position the springform pan in the center of your outer container and pour the filling in. Slowly add boiling water to the outer container until it reaches a depth of about 2 inches.
- Transfer the pan to the oven. The pan will be quite heavy, so be careful not to slosh any water over the sides of the springform pan while you're moving it.
Bake the ricotta pie:
- Bake the ricotta pie for 55 to 60 minutes, until the filling has risen and the center barely jiggles when you shake the pan gently. You can also test by gently inserting a butter knife into the center of the pie. If it comes out clean, the pie is done.
Cool and serve:
- Remove the pie from the water bath (you can leave the foil in place), and return it to the oven with the door partially open to cool for 15 minutes. This helps prevent cracking. Cool for an additional 45 minutes outside the oven, then carefully remove the sides from the pan.
- Transfer the pie to a plate and allow to cool completely before serving. Refrigerate any leftovers.
Notes
Preparing A Water Bath (Bain Marie)
Find a roasting pan or other oven-safe dish that’s large enough to hold your springform pan with at least an inch all around and deep enough to hold about 2 inches of boiling water. A metal container is preferable to ceramic or glass for conducting heat evenly.Tips for Success
DRAIN THE RICOTTA: It does require a bit of advance planning, but we can’t emphasize the importance of draining the ricotta for at least 4 hours. Not every batch of ricotta will give off liquid, but most will and you don’t want that liquid to ruin your filling by making it weepy or loose. USE CHILLED BUTTER: Chilling the butter before making the crust helps with the texture, preventing it from being too heavy or tough. CHILL THE DOUGH: Chilled dough is less sticky and easier to roll, plus, it helps to prevent shrinkage during baking. DON’T SKIP THE WATER BATH: A water bath surrounds the ricotta pie with even, gentle heat that keeps the pie from browning on the outside and cracking on top as it cools. We think it improves the texture of the filling as well. DON’T RUSH THE COOLING: Returning the ricotta pie to the oven with the door partially open slows the cooling process and prevents cracking. Just be sure to take it out of the water bath first to stop the cooking. Then cool completely (to room temperature) before removing the springform pan sides.Nutrition
Nutrition information is automatically calculated, so should only be used as an approximation.


What can you use if you don’t have a food processor?
Hi Teresa,
A food processor makes this recipe a little quicker and easier, but it’s definitely not a necessity. For the crust, simply use a hand-held pastry blender or a fork to blend the butter and flour to a crumbly consistency. Then add your ice water in small increments and when you feel the consistency is right, gather the dough into a ball with your hands and proceed with the recipe. As far as the filling is concerned, you can use an electric mixer or even a hand-held whisk. As long as it’s smooth and silky when you’re done, it doesn’t matter how you got there. Hope this helps!
Do you use fresh ricotta or can it be from a container?? Also Do you use regular cream
Hi Linda,
The ricotta can definitely be from a container. Also, we use heavy cream and I will update the recipe accordingly. Thank you for pointing out that omission.
Can this be made without the crust? I had a ricotta pie with no crust is was soft, light and airy. All the recipes I’ve seen all have crust.
Hi Jeanine,
I have never omitted the crust for this pie so I’m not sure how it would turn out. The filling does hold together nicely and you could probably slice it without issue. You could try adding a little flour to further stabilize it. A lot of crustless cheesecake recipes include flour just for that purpose.
My MIL makes it crustless. She does not use flour and never has any issues.
I have made this several times and it is delicious ~ Your directions as always are clear and easy to follow. Thanks
Hi Jennifer,
So glad you like this recipe. I love the subtle sweetness and I find it always turns out well.
Made the ricotta pie for Easter Dinner and it was the best…thank you I did add a bit of cinnamon. But this was a great recipe…
Hi Rose,
I’m so glad you liked the ricotta pie. It’s one of my favorite desserts.