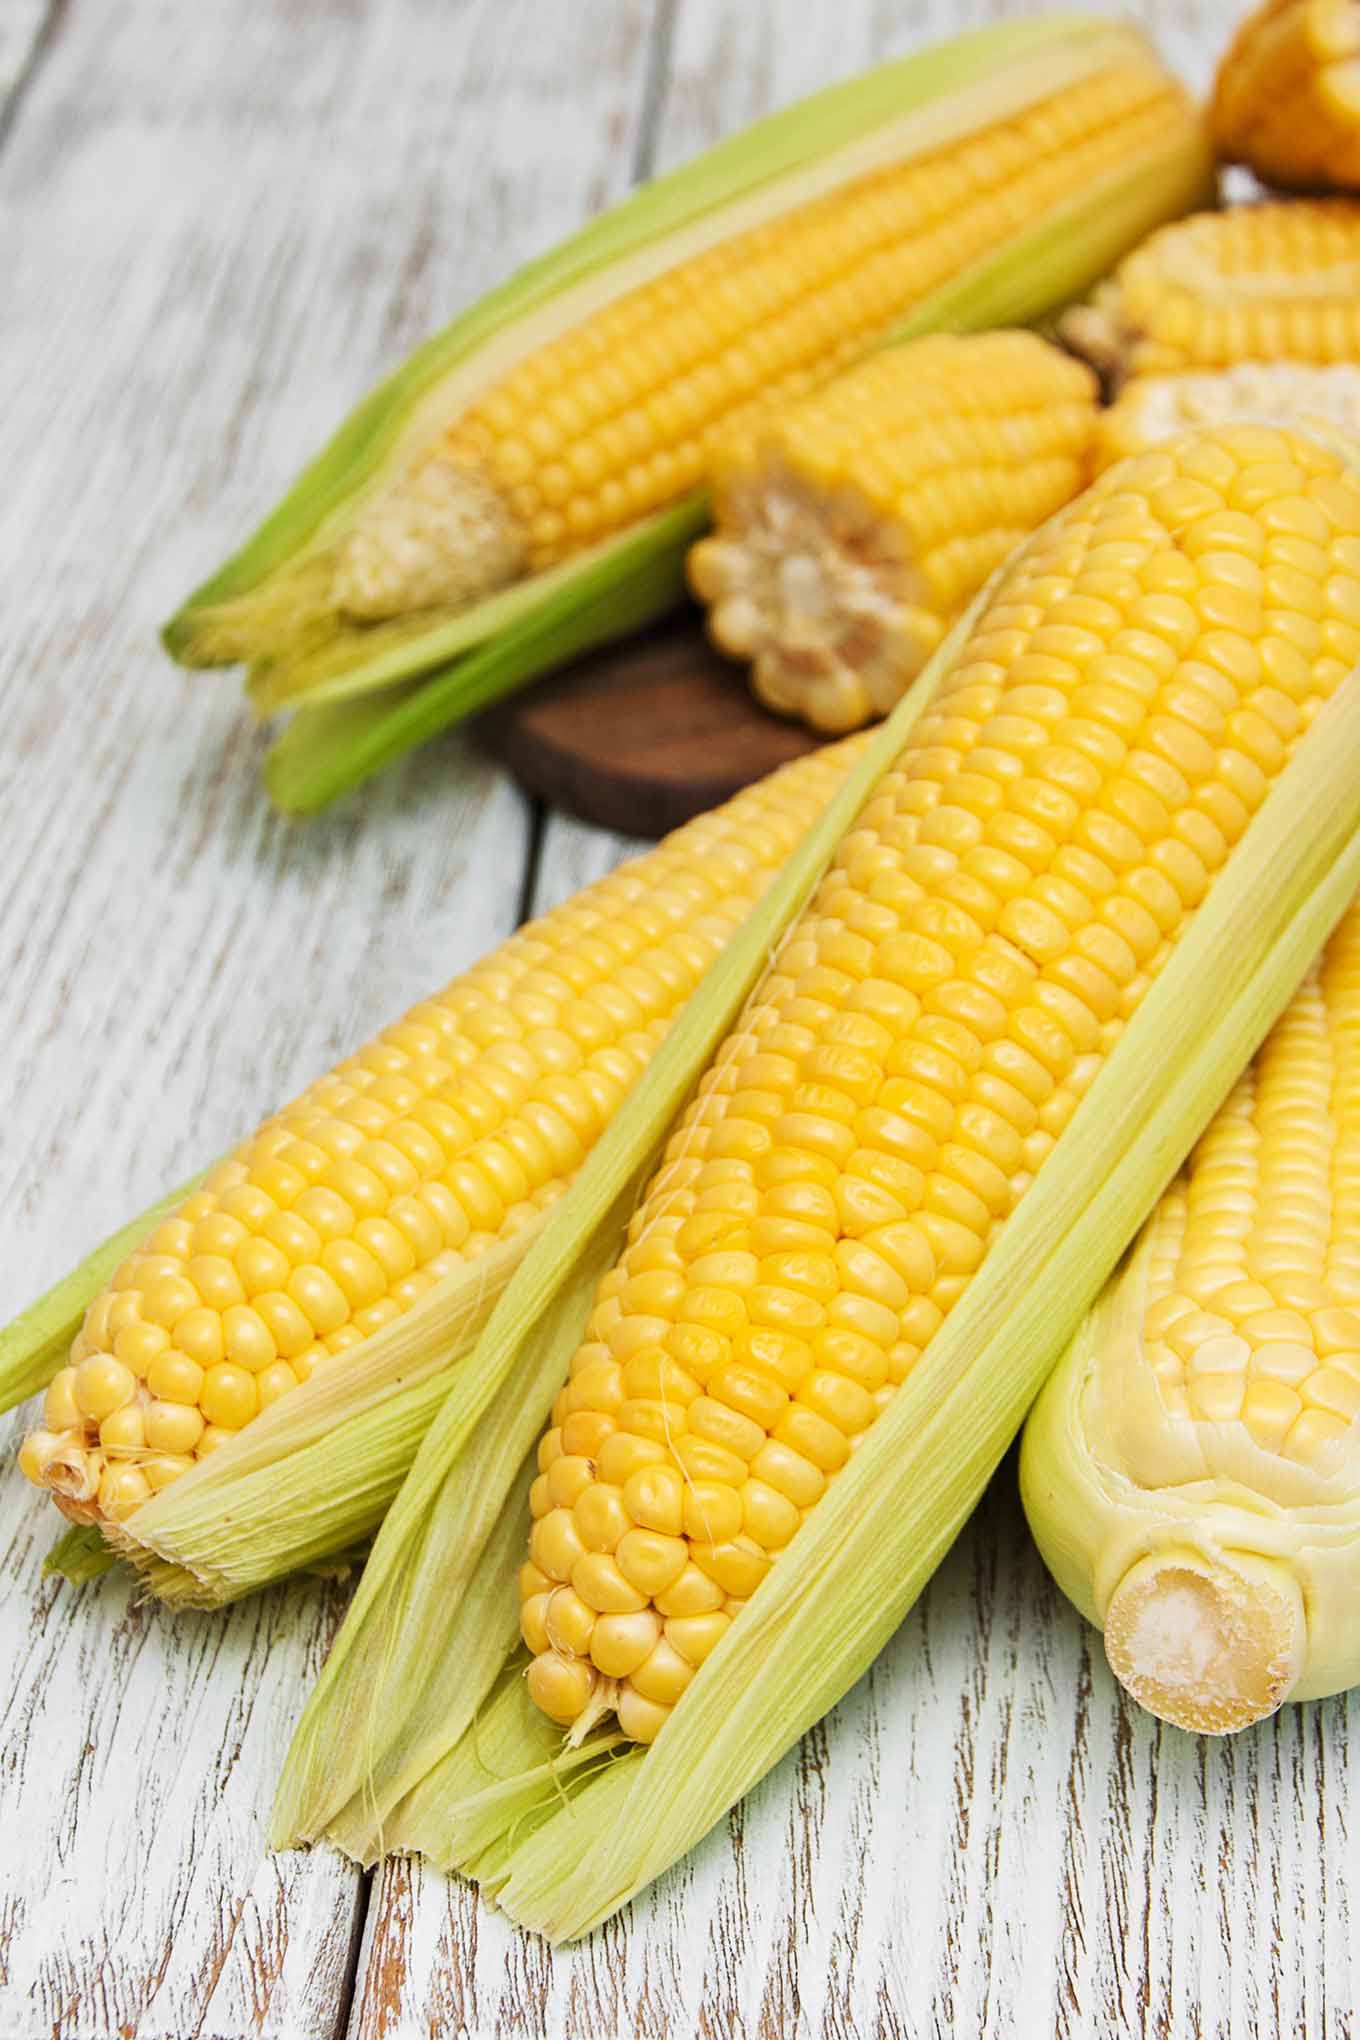
Although corn is readily available year-round, there’s nothing like the flavor of fresh corn in summer when it’s at its peak. Versatile and easy to prepare, corn on the cob can be steamed, boiled, microwaved, or grilled.
Here you’ll find instructions for all four ways to cook corn on the cob. We’ve used all of them, but lately we’ve been favoring microwaving our corn in the husk. Whichever method you choose, remember that cook times can vary with the variety of corn, size of the kernels, and level of freshness, so always keep a close eye and test for doneness.
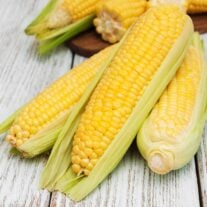
Buying and Storing Fresh Corn
- Look for ears with bright green husks, plump, smooth kernels, and few blemishes.
- If you can, cook corn the same day you buy it for best flavor.
- To store fresh corn, leave the husks on and place the ears in plastic bags.
- Refrigerate (ideally in the crisper) to retain moisture and sweetness. Use within two days.
Husking and Cleaning Corn
- Hold the corn stem-side down and pull the husk and silks downward, working around the ear.
- Wrap the ear in a damp paper towel and twist gently to remove leftover silks. You can also rinse in cool water, but don’t worry – a few stray strands of silk aren’t a problem.
A Quick Look at Preparation
Ways To Cook Corn on the Cob
The recipe below provides easy instructions for 4 different ways for cooking corn on the cob. Each one has its advantages, so here’s an overview of how to choose what’s best for your purposes.
BOILING: This is the most traditional way to cook corn on the cob and is the best for when you’re feeding a crowd if you have a large enough pot. It’s simple, requires no special equipment, and ensures even cooking.
STEAMING: Steaming is a gentler cooking method that preserves more of the corn’s flavor and natural sweetness. It does require a steamer pot and you’ll likely have to cook larger quantities in batches.


GRILLING: Grilling corn on the cob produces a smoky, slightly caramelized flavor that can’t be achieved through other cooking methods and its rustic, in-husk presentation is perfect for backyard cookouts.
MICROWAVING: Microwaved corn in the husks is our favorite way to cook corn. It’s fast, easy, and makes hardly any mess. It’s also ideal for cooking just a couple of ears or when you plan to use the kernels other dishes.
Quick and Easy Flavored Butters
Making a quick compound butter is an easy way for flavor corn on the cob. Combine softened butter with one of the ingredient combos below, then form it into a log, refrigerate it, and slice it into pats when ready to serve.
- PARMESAN: Grated Parmesan cheese and a pinch of Italian seasoning.
- OLD BAY: Old Bay Seasoning, a squeeze of lemon, and some honey.
- HERB: Your choice of fresh herbs like chives, parsley, tarragon, and basil.
- CHILE: Chipotle hot sauce, honey, and chopped cilantro.
More Delicious Corn Ideas
Now that you have the basics of how to cook corn on the cob, we’ve got a few tasty ideas for you to try next.
- Creamy Corn Chowder with Bacon and Tomatoes – A hearty chowder that makes corn the star.
- Mexican Street Corn (Elote) – A grill-friendly favorite bursting with flavor.
- Light and Creamy Corn Bisque – Smooth, satisfying, and done in 30 minutes.
- Corn and Tomato Salad – Simple, seasonal, and super flavoful.
- Mexican Street Corn Flatbread – Cheesy, tangy, and totally delicious.
How to Cook Corn on the Cob
Ingredients
- 4 ears fresh corn
- Butter
- Salt and pepper
Instructions
Steamed corn on the cob:
- Remove the husks and silk from the corn. Add about 1-1/2 inches of water to the bottom of a pot with a steamer insert and bring it to a boil. Make sure the water is below the level of the steamer basket.
- Add your corn to the steamer in a single layer if possible. If you don’t have enough room, steam your corn in batches. Steam the ears until tender, 6 to 8 minutes.Tip: To keep corn warm while you cook additional batches, wrap it in foil and put it in a 200°F oven.
Boiled corn on the cob:
- Fill a stockpot about 2/3 full with water and bring to a boil over high heat. Using tongs, gently place the ears of corn into the water one at a time. Make sure they are all fully submerged.
- Once the water returns to a boil, cook until tender, 3 to 7 minutes. Use tongs to remove the corn from the pot, blot on a kitchen towel before transferring it to a serving platter.
Grilled corn on the cob (in the husk):
- Soak the ears in water for 30 to 45 minutes to keep the husks from burning on the grill. Be sure to drain them well before grilling. Preheat the grill to medium-high heat (about 400°F).
- Just before you’re ready to add the corn, oil the grates. Place the corn directly on the grill grates, cover, and cook until tender, 12 to 15 minutes, turning with tongs every 5 minutes. Let cool slightly before serving.
Microwaved corn on the cob (in the husk):
- Lightly rinse each ear of corn under cool running water to remove any dirt from the husks. Pat dry with paper towels. Arrange a maximum of 4 ears directly on the microwave turntable, leaving a little space between them. If you want to cook more than 4 ears, you'll need to work in batches.
- Microwave on high for 4 minutes for the first ear of corn, adding 2 minutes for every additional ear, up to 10 minutes total.Note: Microwaves vary in wattage so you may need to experiment a bit with this timing.
- Once the corn is cool enough to handle, cut off the stem end about 1/2 inch above the base. Once you've trimmed the stem, grasp the ear from the top, and shake up and down until the corn slips out of the husk.
Notes
Testing Corn for Doneness
Corn is done when the kernels appear plump and their yellow color is more vibrant. You can pierce a kernel with the tip of a knife to test for tenderness if desired. Be careful not to overcook corn as the kernels will become tough and chewy.Nutrition
Nutrition information is automatically calculated, so should only be used as an approximation.